Adventures with Snoopy Calendar - printing it from the VAX
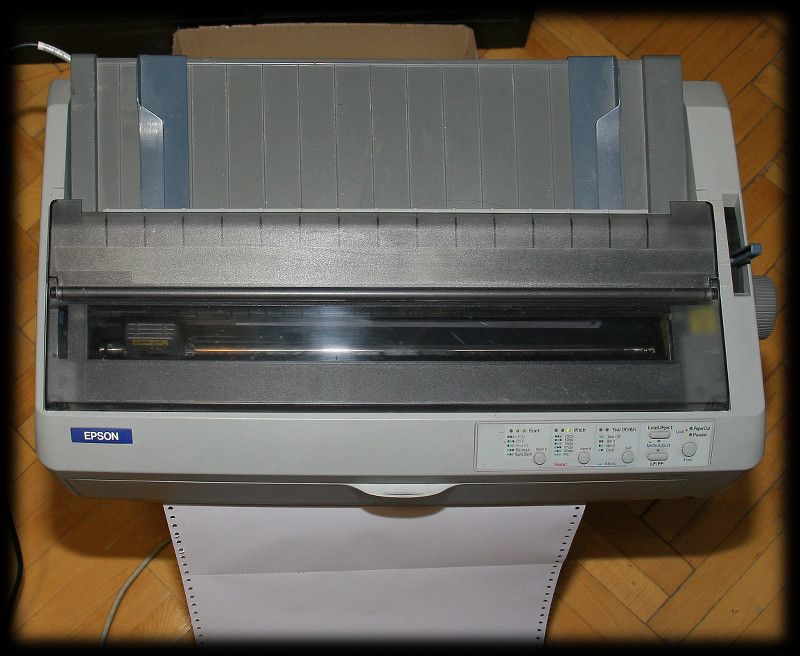
Printer
While I did have the printer, the ribbon was quite old and dry, and I only had a few sheets of (A3) fanfold paper left. Luckily both are still available to buy. A pleasant surprise, compared to the usual laser/inkjet cartdriges that seem to vanish a few years after the product is no longer marketed. And by the way, it seems that at least in some use cases, dot matrix is (again?) cheapest technology in terms of cost per page. But I digress; once the printer is known good let's continue...
Connections
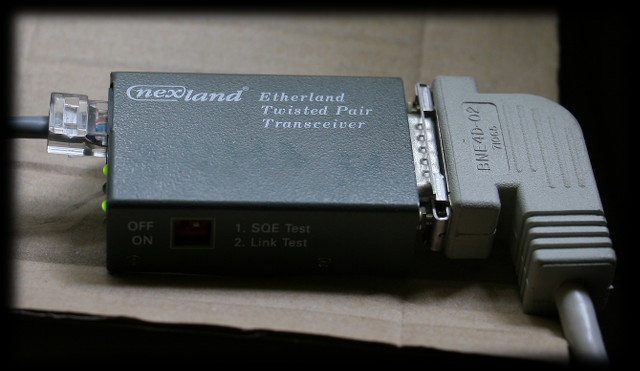
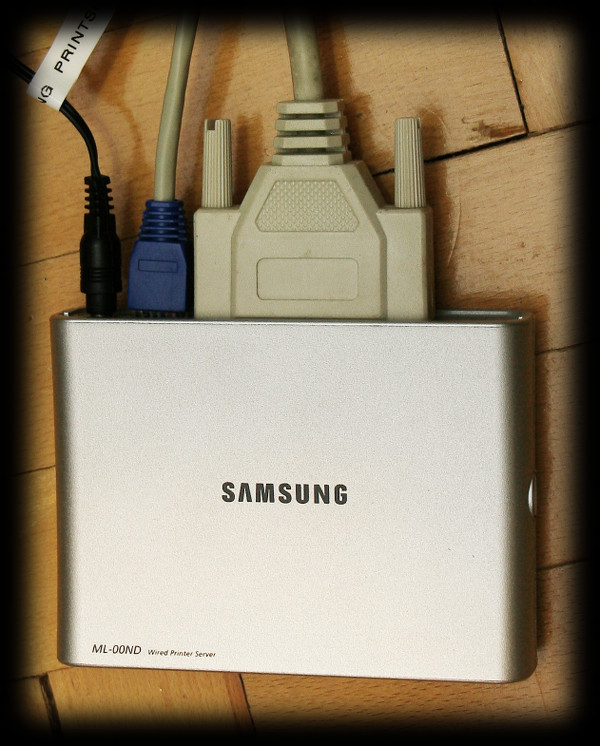
In real hardware world one usual issue is that of connecting various equipments, especially if they belong to different ages or "worlds". In this case, the first VAX I thought of (VAXstation 4000 VLC) only has a serial (RS232) printer port while the printer has Centronics interface. One option - that I estimated would take about two days - was to build a simple RS232-to-Centronics interface. However, my laziness intervened, helped by remembering a simple "print server" that I kept somewhere. Once found, I also thought possible of using a different (and more impressive) VAX - the MicroVAX 3500. This one only has Ethernet connectivity (the only serial port is used for console), but that is enough.
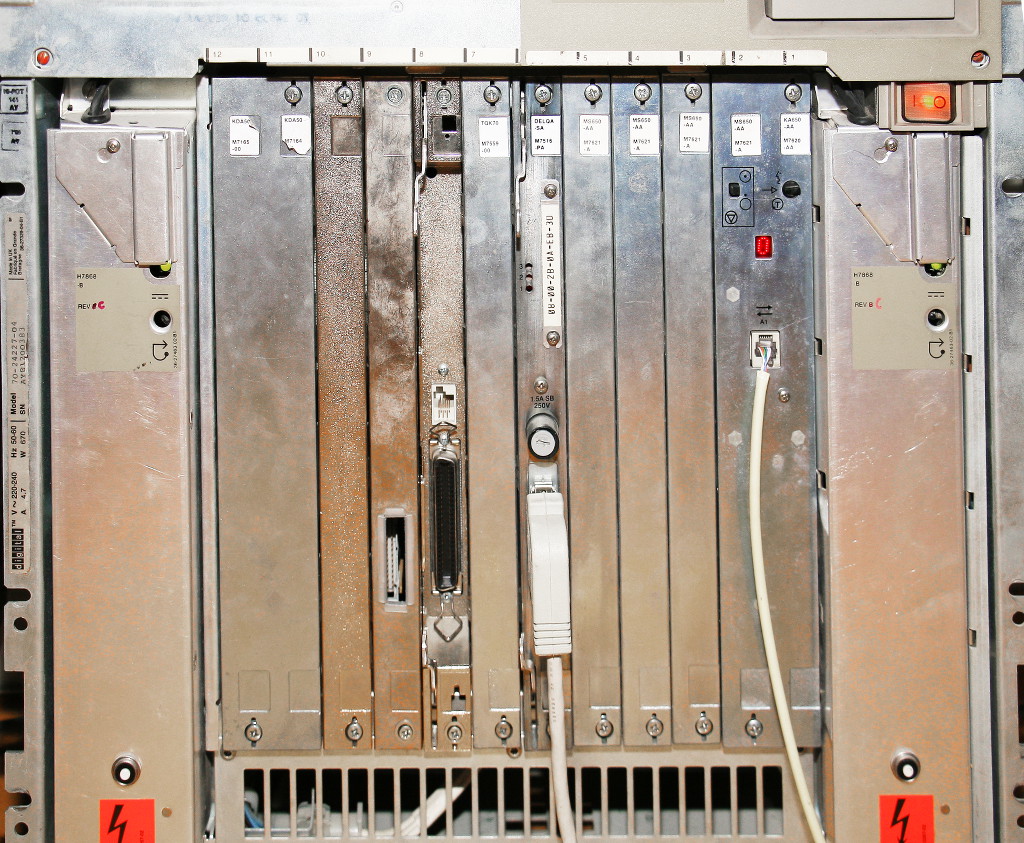
(Slot 8 is one of its SCSI controllers - CQD 223 SCSI controller)
Configuration
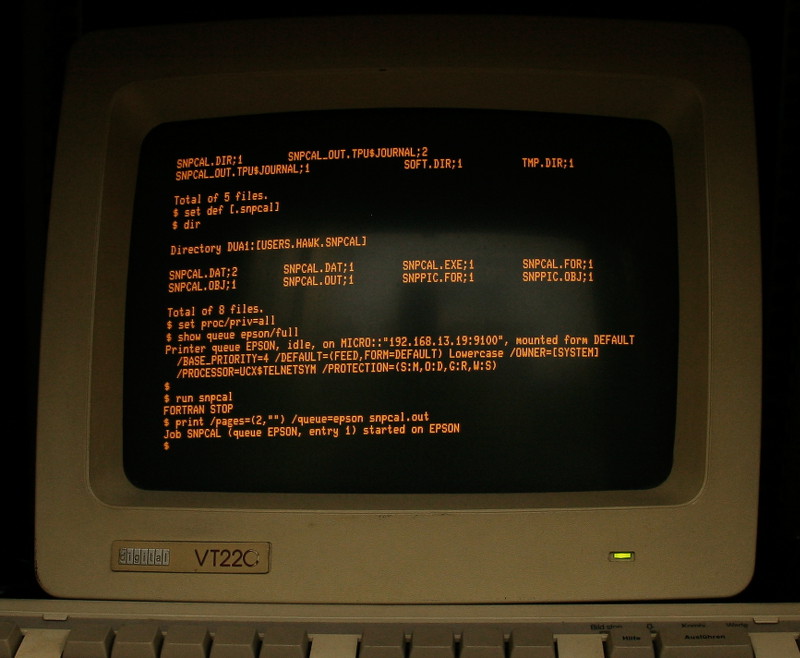
As I have noted in the first episode, printing from OpenVMS to a network printer is not very difficult. A nice HoffmanLabs article provides a lot of information on the subject. However, there are slight differences between my setup and what is presented there. I chose the simplest variant: direct (raw) printing to port 9100 using telnetsym. I have configured the Samsung PrintServer and tested it with ncat to ensure it works (I wasn't sure it would agree to function with non-Samsung printers). The previous tests were done with OpenVMS 7.3 on SimH but the MicroVAX has OpenVMS 7.1. This has lead to the following difficulties:
- Unzip compiled on 7.3 (SimH) doesn't function on 7.1 - solved by downloading a ready-made one (and then recompiling)
- The (precompiled) vim editor doesn't function because of different runtime - EVE would have to do
$ INITIALIZE /QUEUE /START EPSON /PROCESSOR=UCX$TELNETSYM /ON="192.168.13.19:9100"seemed to run fine. Fortran installation did not present any problems either (all the configuration requirements were already met from the previous C installation). Next, configuration and run.
C     * BEGINNING MONTH AND YEAR, ENDING MONTH AND YEAR MUST BE PRO-   *
C     * VIDED IN 4(I6)  FORMAT ON A CARD IMMEDIATELY FOLLOWING         *
C     * CARD 98 OF DECK.                                               *

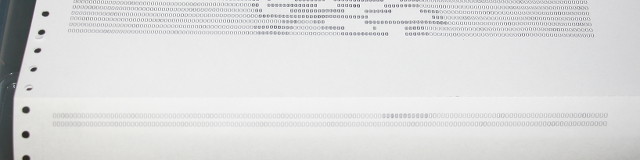
Configuration was not a problem, but on first run I did find a problem with the output. Some pictures were not fitting the page despite it having empty rows at the bottom.
Thinking that the printer itself might be misconfigured I tried changing the line height, lines per page etc. - to no avail. That only left OpenVMS itself. Since I'm already used to it doing all kinds of automated things (like the previous "Fortran carriage control") I searched around. The problem (as those more experienced in VMS might already know) was with the FORM. HELP DEFINE/FORM reveals some switches, such as /LENGTH whose default is right (11 inches - 66 lines) but also /MARGIN:
DEFINE

  /FORM

    /MARGIN

          /MARGIN=(option[,...])

       Specifies one or more of the four margin options: BOTTOM, LEFT,
       RIGHT, and TOP.

       BOTTOM=n   Specifies the number of blank lines between the end
                  of the print image area and the end of the physical
                  page; the value of n must be between 0 and the value of
                  the /LENGTH qualifier. The default value is 6, which
                  generally means a 1-inch bottom margin.

       LEFT=n     Specifies the number of blank columns between the
                  leftmost printing position and the print image area;
                  the value of n must be between 0 and the value of the
                  /WIDTH qualifier. The default is 0, which means that
                  the print image area starts as far to the left of the
                  paper as the printer can go.

       RIGHT=n    Specifies the number of blank columns between the
                  /WIDTH qualifier and the image area; the value of
                  n must be between 0 and the value of the /WIDTH
                  qualifier. When determining the value of the RIGHT
                  option, start at the /WIDTH value and count to the
                  left. The default value is 0, which means that the
                  print image extends as far to the right as the /WIDTH
                  value.

       TOP=n      Specifies the number of blank lines between the top
                  of the physical page and the top of the print image;
                  the value of n must be between 0 and the value of
                  the /LENGTH qualifier. The default value is 0, which
                  generally means that there is no top margin.
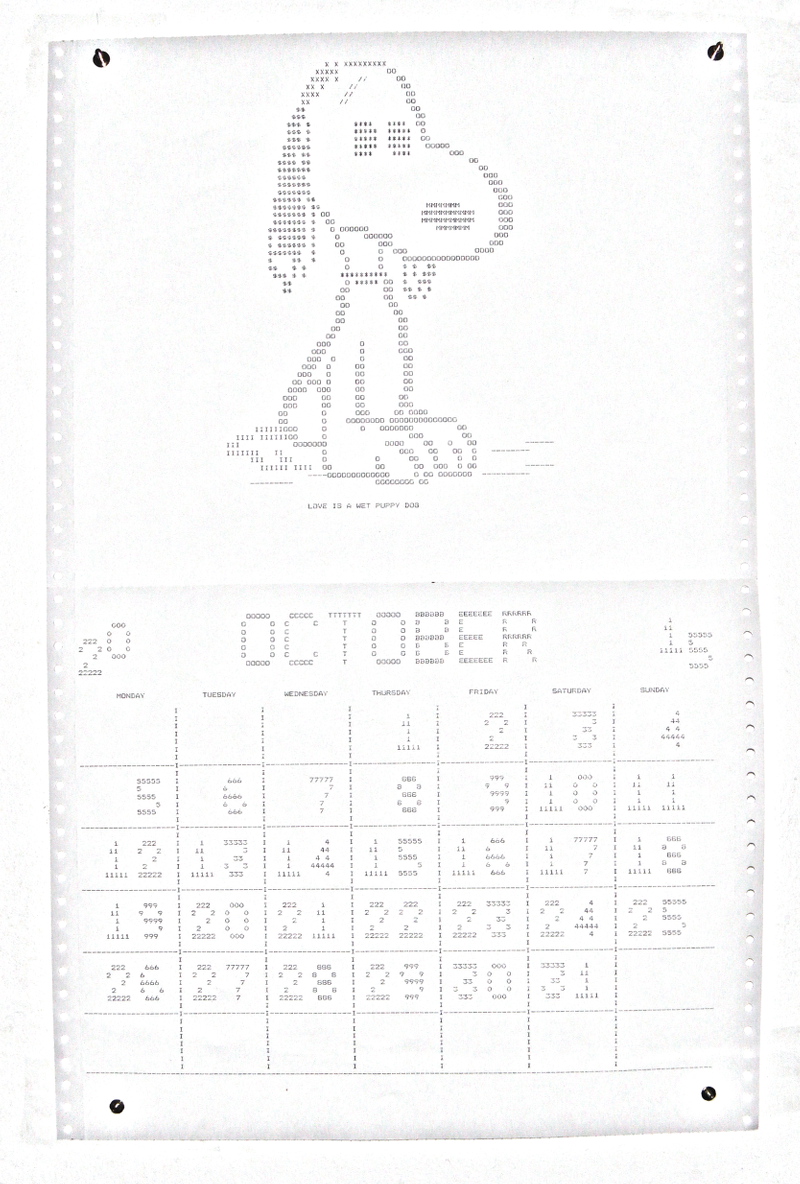
The default BOTTOM margin is 6, from a 66 lines page. The picture that didn't fit was 62 lines long. I redefined the DEFAULT form to have a BOTTOM margin of 0 lines and a TOP margin of 2 lines -it looks better not starting right at the top- and was ready for another try.
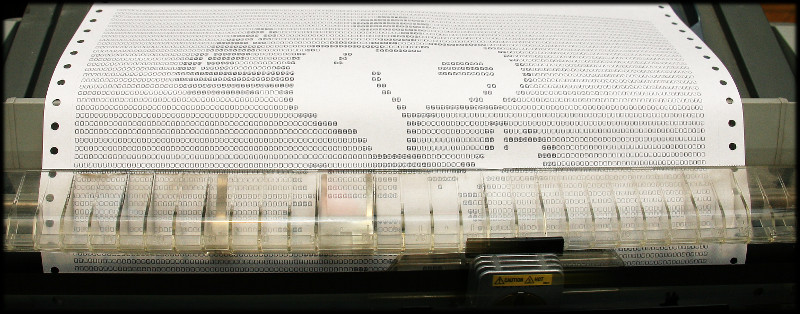
Success in pictures!

Quite a difficult picture to take.
Not really taped, but affixed to my office wall, for easy replacement each month. There are 4 small (CD-ROM pick-up) magnets taped to the wall and the paper is held between the screws and magnets.
A few more pictures with the MicroVAX and its boot-up process will follow in a couple of days at most.
More pictures here
Published 2015-10-05 by Mihai Gaitos - contacthawk.ro